
I think one of the most common questions Roomba charging users have is, “How do I know if my Roomba is charging?”. Robots cannot clean your rooms if their batteries are dead. It is also impossible for them to hit your floor if they are flat. No worries! Your status will be indicated by the light.
You may also love to read: Roomba Not Connecting To WIFI?
Roomba models vary in terms of their functionality, however. Therefore, you’ve come to the right place if you’re wondering where you can check the Roomba charging. How to set the lights for each Roomba model while they are charging is explained in this article. Additionally, I’ll show you how to restart your Roomba and fix it if it does not charge. Let’s get started!
Table of Contents
1. How to tell If Roomba charging?
 Romba robot vacuum cleaners use a rechargeable battery to power them, making them convenient to use. They can be recharged after they run out of battery. As compared to other robots on the market, Roomba’s battery life is quite impressive: it can run for more than two hours and charge over 400 times. However, this is only an approximate estimate, and all of it will depend on how well it is maintained and how often it is inspected.
Where can I find out if the Roomba charging?
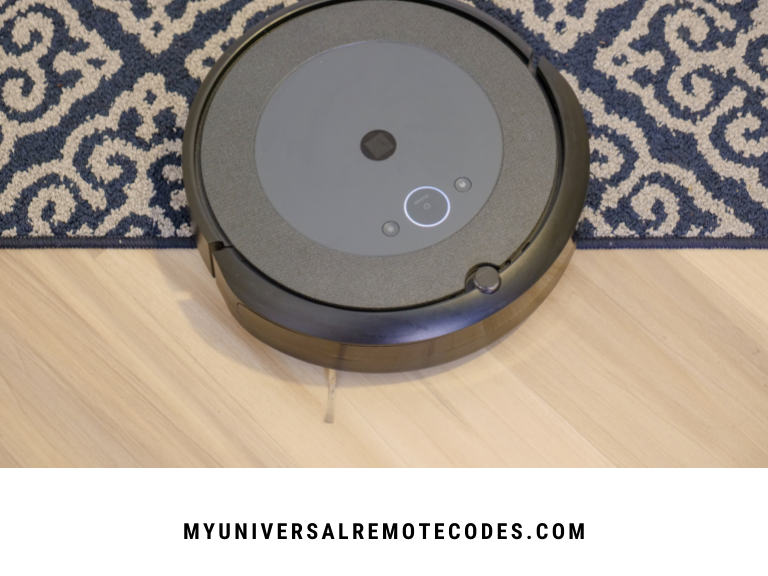
The indicator light will remain solid green after it has been plugged in to a wall outlet, indicating that the battery is charging. Nevertheless, this is not always the case. Some machines have a blinking power light after they are plugged in for a few seconds, and then it goes out. Other models, such as the i3 and i7 series, do not have light indicators during charging, which is fine.
Your Roomba might seem to be running low on charge when this occurs. The next time your Roomba i3 or i7 runs low on battery, you might wonder: “Is my Roomba charging?“ While this is a rational question, there is no cause for concern.
To determine whether your Roomba charging, you just need to know its specific signals. Each machine has different light displays.
Here’s a chart that shows the battery status for all Roomba models to make things as simple and useful as possible. This table will begin with older versions like Roomba 500 or 600, and progress to the most recent versions like i3 and i7:
Model | Charging | Partially charged | Fully charged | No battery | Low battery | Software Update | Light during charging |
Roomba 500 series | Amber Pulse | Amber | Green | Amber Pulse | Red |
| Pulse (every four seconds) |
Roomba 600 series | Amber Pulse | Amber | Green | Amber Pulse | Red |
| Pulse (every four seconds) |
Roomba 700 series | Amber Pulse | None | Green | Red | Red |
| Only on for 60 seconds |
Roomba 800 series | Amber Pulse | None | Green | Red | Red |
| Only on for 60 seconds |
Roomba 900 series | Amber Pulse | None | Green | Red | Red |
| Only on for 60 seconds |
i3 and i3+ | Blinking white |
| White | Red | Amber Pulse | White squirl | No |
i7 and i7+ | Blinking white |
| White | Red | Amber Pulse | White squirl | Yes |
Roombas 500 and 600 series show blinking lights every four seconds when charging, as you can see from this table. The models 700, 800, and 900 display blinking lights for the first 60 seconds of their charging cycles. In addition to the i3, there is no charging light on the i3+.
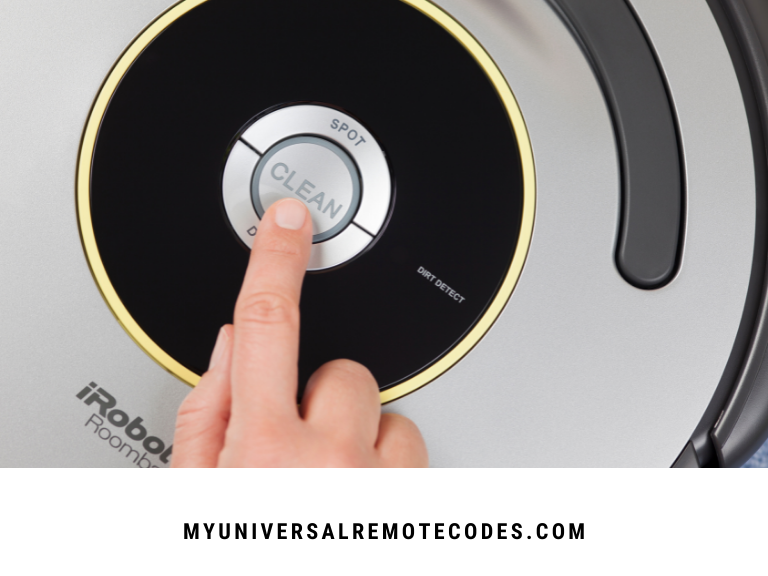
This table can also assist owners of the i7 and i7+ who may have asked: “How do I know if my Roomba is charging?”. A white light blinks while the i7 and i7+ are charging. If your machine does not show a light during charging, it will display battery status and quickly return to the original display mode. You can change this by pressing the CLEAN button once on your machine’s top.
You may also love to read: Roomba Not Charging: How To Fix?
How do you charge your Roomba when it is not charging?
 A Roomba vacuum, for example, needs to be properly charged so that it works to its fullest potential. Unfortunately, sometimes the battery won’t charge or won’t fully charge, which can be frustrating. In addition to guiding you through the process of “How do I know if my Roomba is charging,” I’ll also answer your questions about how to fix your Roomba when it doesn’t charge.
- Clean the contact points
Each time you vacuum, dirt and debris accumulate at the contact points, and they end up trapping them. Use the microfibre cloth to clean these points; you can use some alcohol if necessary. Try plugging it back in after cleaning to see if it charges.
- Check the outlet
Regardless of how obvious it sounds, your power outlet must provide enough power to charge your Roomba vacuum. Otherwise, your Roomba will not charge. You can test the outlet by connecting another electronic device to it. If you still cannot Roomba charging, you may want to try plugging it into a different outlet.
- Clean the docking station
It is easy for dirt to accumulate on the docking station’s connection ports as well as on the contact points. Once the ports become clogged with dirt, the charging process stops. The docking station can still be quickly recharged by rubbing it with alcohol. Following the cleaning of the dock, the Roomba should be able to recharge again.
- Fix the battery position
There have been reports that some Roomba owners have had charging issues right after plugging in their brand new machines. Your Roomba’s batteries are likely to have been displaced during shipment, but this shouldn’t be an issue. It is only necessary to unscrew the screws beneath the battery compartment of the Roomba, replace the battery, and screw the screws back in place to fix its position. Check to see if the Roomba charging properly now by plugging it in.
You may also love to read: Roomba Error 14: How To Fix?
- Check the charging dock
In the event of a malfunctioning docking station, your Roomba won’t be able to charge. In other words, if you’ve cleaned the contact points and the docking station, but your Roomba continues not to charge, then it may be time for a new dock. If your warranty is still valid, you may call iRobot customer service and get your dock replaced in a few days to a week.
- Replace batteries
Many charging issues are caused by faulty batteries, so you may need to replace your battery if you have used your Roomba for a long time. It is not expensive to buy new batteries, and you can easily replace them. Put the new battery in, screw the battery compartment back on, and clean up any dirt accumulated. Charge it now. It should work in almost all cases by Roomba battery reset.
You can also reset your robot to solve the charging issue. But how do you do that? Before figuring out another solution, try resetting the device. Continue reading to find out more. In this guide, I will explain how to reset three different types of Roomba vacuums.
You may also love to read: [Solved] Why is My Roomba Side Brush Not Spinning?
3. How do I reset my Roomba?
 3.1. Reset the Roomba 500 and 600 lines
- Step 1:
Shut down your device. No matter what type of vacuum you have, including your robot vacuum, you need to do this. Turn off your machine and move it away from its charging dock. The new battery should be inserted after you turn off the machine, and after you hit the CLEAN button. Release the button when the green light appears.
- Step 2:
Hold down SPOT and DOCK at the same time. Hold them down for about ten seconds.
- Step 3:
Press the buttons to release them. The vacuum will now make a signaling sound, which means it will reboot.
- Step 4:
Once connected, wait for the light to turn green before reconnecting the robot to the charger. You can check the status of the robot by pressing the CLOCK button. The clock settings on your Roomba should be cleared if all of them have been cleared.
- Step 5:
So that the robot can continue to do its work as usual, you need to set only the date, time, and other details.
You may also love to read: Alexa Spotify Commands: Link Alexa to Spotify
3.2. Reset the Roomba 700, 800, 900 and Roomba 960
- Step 1:
Approximately ten seconds after pressing and holding the CLEAN button, the text “rSt” will appear on the display screen.
- Step 2:
You will hear the Roomba unit resetting itself once you see the text “rSt.”. You can then let go of the CLEAN button and leave it off.
- Step 3:
You erased all data when you reset. Your robot must now be reprogrammed with the correct time and date and you must have it do its tasks again.
As an owner of a Roomba 960, you are likely to have encountered several reviews, buying guides, or troubleshooting guides before. A Roomba 960 can be reset in the same way as a Roomba 700, 800, or 900. The steps are the same.
3.3. Reset Roomba i3 and i7
- Step 1:
Press the following buttons at the same time: HOME, CLEAN, and SPOT CLEAN
- Step 2:
Hold these three buttons until the white light ring on the CLEAN button becomes bright. Release them all at the same time.
- Step 3:
You may need to wait about 20 to 30 seconds for your robot to reboot.
- Step 4:
Now that it’s done, you can move on. You may also want to reset other details like time, date, … to restore it to its original state.
You may also love to read: Ring Chime Pro vs WIFI Extender
4. Does Roomba take a long time to charge?
 Now that you have some suggestions on how to determine whether your Roomba charging time, it’s a no-brainer to deal with this common issue as long as you follow some quick and easy steps as shared above.
The other question that has come up lately is how long does it take to charge a roomba. How long do different machines take to charge? Here are some details.
Let your new Roomba charging overnight by removing the battery pull tab. If you charge your Roomba for an extended period at the beginning, you will boost the battery life. This advice is applicable to any Roomba model. If you charge your Roomba for the first time, it will usually take about two hours, depending on the condition of your battery.
To extend the battery life of your Roomba and to prolong its lifespan, make sure you charge your robot immediately after each use. The longer the battery sits, the more likely it is to be damaged. Battery life can be extended by taking proper care of Roomba batteries.
You may also love to read: How do I Fix the Netgear Router Orange Light?
5. How to maintain your Roomba Battery
 Roomba’s battery life will be extended if you charge it extensively on the first charge. Additionally, there are a few other tips you can use to extend the battery life of your Roomba:
It is recommended that you charge and discharge your Roomba batteries frequently. If they are left empty, batteries break down over time. Use it frequently. Consider purchasing higher-end models if you are usually away so you can schedule a cleaning schedule when you are away. You can make sure the battery gets the proper charging through regular use.
Battery life for a Roomba should be about two years if used properly and maintained. To avoid damaging your robot, ensure that the battery you replace comes from a reputable brand; otherwise, you might damage it. iRobot recommends only using their batteries.
- Keep your vehicle’s moving parts and wheels clean by cleaning them periodically.
- After charging it fully, unplug it and store it in a safe place if you plan to be away for a long time.
- After being disconnected from its base for a long time, the Roomba robot goes through a 16-hour charging cycle. This is entirely normal and perfectly fine.
You may also love to read: Solved: Roku Remote Blinking Green Light
The bottom line
Here’s hoping this roomba charging guide provides you with some useful information. How Do I Know If My Roomba is Charging is a frequently asked question, but the answer varies according to the model you have.
Robot vacuums from Roomba are easy to operate and well-engineered, but they require maintenance to maintain optimal performance like any other electronic device. We will contact you once we receive your question or comment.